
Monthly tips, creative ideas, helpful advice, and giveaways—delivered straight to your inbox.
DIY Monthly Banners
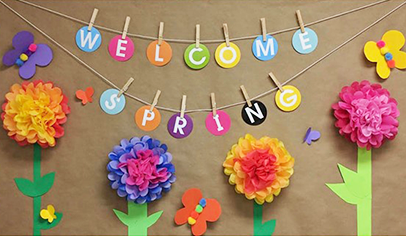
Decorate your classroom with inspirational and fun Monthly Banners. In just a few quick steps, create a variety of signs that will help get students excited for the school year ahead. A warm and welcoming environment could help motivate students and create a better learning environment. As you may want to change signs every so often during the year Case•it offers a unique and mobile way to store the supplies. Please learn how to make these signs and store these supplies so you can create inspirational messaging anywhere you go.

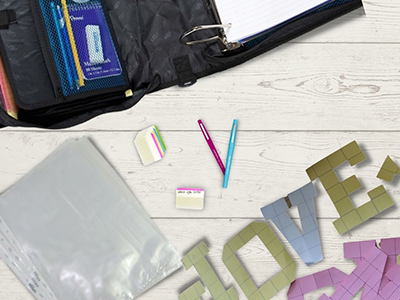
Materials:
- Case•it King Tab Zipper Binder in preferred color
- Case•it Tri-Zip Pencil Case in preferred color
- Sheet Protectors
- Divider Stickers
- Colorful Construction Paper
- String
- Cardboard
- Pencil
- Eraser
- Scissors
- Staples & Stapler or Hole Punch
- Thumbtack or Tape
- Glue
Instructions:
How to Make the Signs
- Determine what you want to say.
Below are our recommendations for monthly banners, that you can store in your binder.
September
-
- Welcome Back
- Where our adventure begins
October
-
- Hocus Pocus Everybody Focus
- Fall in love with learning
November
-
- Let’s be thankful
- Practice gratitude for the right attitude
December
-
- Your light makes the season bright
- There’s SNOW place like Room (#)
January
-
- Back for s’more learning
- Popping into a New Year
February
-
- You stole a PIZZA my heart
- We TOAD-aly love room (#)
March
-
- Marching into spring (with ants)
- You’re worth more than gold
April
-
- BEE Amazing
- Peeping into spring
May
-
- Learning gives you wings (bird or butterflies)
- Look who’s blooming
June
-
- It’s almost o-FISH-ally summer (fishes)
- Sailing into summer (sailboats)
2. Freehand or stencil the letters/words onto the construction paper
3. Carefully cut out the letters
4. If letters need background, glue letters to background
5. Staple words or letters to string
-
- Alternatively, you can also punch holes into letters or images and string them up via the holes.
6. Thumbtack or tape banner to designated wall
7. Optional Additional Step – Laminate letters or words prior to taping up on the wall
-
- Try self adhesive sheets
- Sheet protectors
- Packing tape
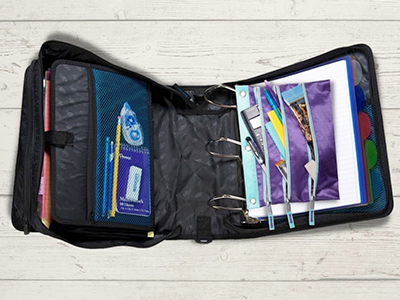
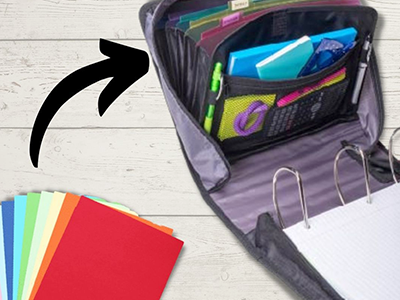
How to Organize and store the Materials
a. Take Case•it King Zip Tab and put Tri-Zip Pencil Pouch inside, along with Sheet protectors on 3-inch rings
b. Store all pencils, scissors, tape, and glue inside Case•it Tri Zip Pencil Pouch
c. Use Divider Stickers to label sheet protectors with what each sign is supposed to be i.e.: “When you enter” and store in order of how you plan to use it.
d. Another way to divide it is to put each letter upper case or lower case on the divider stickers and sort it by alphabet and upper case or lower case, include punctuation, as necessary (this is if you cut out each letter individually).
e. You can use the attached file folder to organize the construction paper to store until you need to create more letters
Monthly tips, creative ideas, helpful advice, and giveaways—delivered straight to your inbox.