Inspirational Wall Art


Welcome students back to school with inspirational and aspirational wall art. In just a few quick steps, you can create a variety of signs that will help get students excited for the school year ahead. A warm and welcoming classroom could help motivate students and create a better learning environment. As you may want to change signs during the year, Case•it offers a unique and mobile way to store the supplies. Follow these instructions to make the signs, then store the supplies in a binder so you can create inspirational messaging anywhere you go.
Materials:
Case•it King Sized Zip Tab Binder in preferred color
Case•it Tri-Zip Pencil Case in preferred color
Sheet protectors
Divider stickers
Colorful construction paper
Cardboard
Pencil
Eraser
Scissors
Thumbtack or tape
Glue
Instructions:
How To Make the Signs
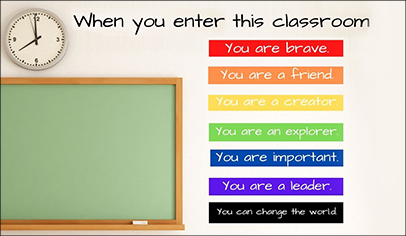
1. Determine what you want to say. These are a few of our favorite and inclusive signs to welcome people into your classroom.
“When you enter this classroom…You Are…” We like this since you can customize to grade, subject teaching/learning, and make it as specific or broad as you want. It also sets a great positive expectation.
“Incase no one told you today…:” This sign can be customized to grade, subject teaching/learning, and made as specific or broad as you want.
“When you
Enter this room
Learning is fun and
Cooperation is expected.
Our positive attitude and
Mutual respect are part of
Everything we do and say!”
We like this sign because it sets positive guidelines before entering the classroom.
2. Freehand or stencil the letters or words needed onto the construction paper.
3. Carefully cut out the letters.
4. If letters need a background, glue them onto the background.
5. Thumbtack or tape words to the designated wall.
6. Optional Additional Step—Laminate letters or words prior to hanging them by using self-adhesive sheets, sheet protectors, or packing tape.
How To Organize and Store the Materials
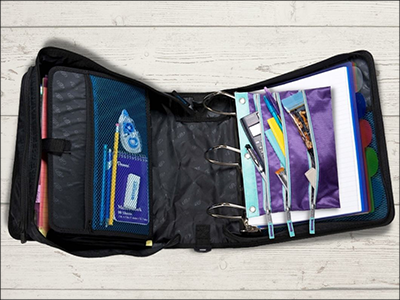
1. Open the Case•it King Sized Zip Tab Binder and place the Case•it Tri-Zip Pencil Case and sheet protectors on the 3-inch rings.
2. Store all pencils, scissors, tape, and glue inside the Case•it Tri-Zip Pencil Case.

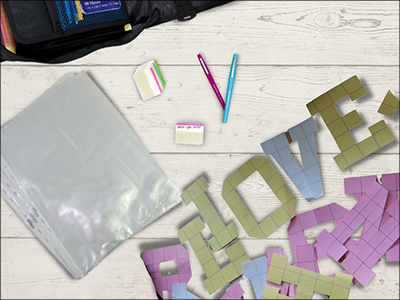
3. Use divider stickers to label the sheet protectors holding each sign. Organize the signs in the order you plan to use them.

4. If you cut out each letter individually, you can store each type of letter in a separate sheet divider. Sort the pieces by letters of the alphabet and upper case or lower case, including punctuation, as necessary.
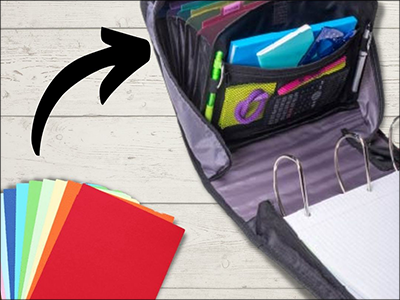
5. Use the attached file folder to organize the construction paper until you need to create more letters.


