
Monthly tips, creative ideas, helpful advice, and giveaways—delivered straight to your inbox.
Track your students’ growth–in hands!
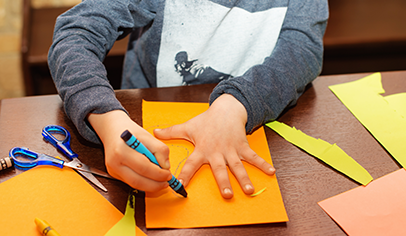
natazhekova/123RF
Learning area: Math
Time commitment: One 45-minute session or two 30-minute sessions
Best for: Pre-K, Kindergarten, Grade 1, Grade 2, Grade 3, Grade 4, Grade 5
![]()
It’s likely your students aren’t the same height this year as they were last year. It’s time to measure their height again, but this time with a twist; instead of using feet, we’re using… hands! This activity will help kids develop skills in math and the importance of using the correct size scissors for their hands.
Materials:
- Fiskars scissors
- Colored paper
- Poster or bulletin board paper
- Pencil
- Crayola crayons
- Ruler
Instructions:
1. Have students trace their hands on a piece of construction paper–their choice of color! Let them color and draw within the handprint.
2. Give your students a ruler and have them measure the handprint from the base of their hand to the highest point of their tallest finger, in inches. Have them mark that height in the center of the palm.
3. Use this opportunity to show students how their height is not the only part of growth–their hands grow too! Demonstrate how the scissors you use as a teacher are larger than the ones they use, and as their hands grow, they’ll need bigger sizes themselves.
4. Before your students cut out their handprints, emphasize the importance of practicing cutting. It helps develop the muscles essential to writing, so encourage them to take their time to ensure they stay focused for a clean cut. Rushed cuts will be uneven and choppy, and their hands won’t get the benefits of working those muscles.
5. Have students cut out their handprint.
6. Mark your students’ heights on a large piece of paper on the wall or door.
7. Have your students use their handprint to count upwards towards their marked height: have them place their handprint at the bottom of the large paper and mark the highest point of their tallest finger. Move the handprint again so that the base of the print is at the mark they just made and have them mark the highest point again. Repeat until they reach their height.
8. Count each mark once your students are done–that’s how tall they are in hands!
9. Have your students add up the height of their hands as many times as it takes them to get to their marked height. For example, if a student’s handprint is 6in tall, and it takes 10 handprints to get to their marked height, they will get 60in.
For younger students, have your students work together in small groups to organize their heights from shortest to tallest. At the end of the allotted sorting time, get the whole class together so they can line themselves up in order.
For older students, divide the height from step 8 by 12 to get their real height! In this case, the student would be 5ft tall.
Monthly tips, creative ideas, helpful advice, and giveaways—delivered straight to your inbox.